
Perdition is a Lost Sector in Destiny 2 on Rathmore Chaos, Europa. It comes in 3 versions: Legend, Expert, Master. Below you find champions, shields and modifiers for each difficulty, and the rewards.
Perdition Lost Sector guide
Where: Cadmus Ridge in Rathmore Chaos, Europa. It’s a glacial cave in the northeast of the area; from Charon’s Crossing, follow the cliff path to the Lost Sector sign above the glacier tunnel.
Enemies and boss: Vex, ending with Alkestis, Sacrificial Mind.
- The first room has Harpies and an optional Hydra that teleports to the back when you damage it. Clearing the room opens the stairs.
- The second room has two Wyverns and Fanatics.
- Alkestis backs up against the rear wall and calls in waves as its health drops. It’s fragile, so a Super and some heavy ammo go a long way.
Since The Edge of Fate, the higher-difficulty Lost Sectors rotate daily per destination, so check the Director to see when it’s up.
Overview
- Type
- Lost Sector
- Location
- Rathmore Chaos, Europa (Europa)
- Fireteam
- Up to 3 players
- Lowest Power
- 950
- Difficulties
- Legend, Expert, Master
Rewards
 Exotic Arms Armor (solo clear)Exotic Chest Armor (solo clear)Exotic Head Armor (solo clear)Exotic Legs Armor (solo clear)
 Enhancement Cores (Uncommon)
 Exotic Engram (solo clear)Engram
 Legendary Weapon (solo clear)
Perdition: Legend
Recommended Power: 950
Legend Difficulty: Locked Equipment, Match Game, Extra Shields Champions: [Shield-Piercing] Barrier, [Disruption] Overload Burn: [Arc] Arc Shields: [Arc] Arc, [Void] Void Modifiers: Shocker
Modifiers

When defeated, Goblins spawn Arc pools that causes damage over time.

You will face [Shield-Piercing] Barrier and [Disruption] Overload Champions.
Visit the Character or Mod Customization screen to view your active anti-Champion perks.

Enemy shields are highly resistant to all unmatched elemental damage.

Limited fireteam revives. Gain additional revives by defeating Champions.

You will face combatants with [Arc] Arc and [Void] Void shields.
Activity modifiers may add more shield types.
Perdition: Expert
Expert Difficulty: Locked Equipment, Extra Shields Champions: [Shield-Piercing] Barrier, [Disruption] Overload Threat: [Arc] Arc Shields: [Arc] Arc, [Void] Void Modifiers: Shocker
Modifiers
You will face combatants with [Arc] Arc and [Void] Void shields.
Activity modifiers may add more shield types.

Locked Loadout
Extra Shields

You will not be able to change your equipment after this activity starts.
Limited fireteam revives. Gain additional revives by defeating Champions.
You will face [Shield-Piercing] Barrier and [Disruption] Overload Champions.
Visit the Character or Mod Customization screen to view your active anti-Champion perks.
When defeated, Goblins spawn Arc pools that causes damage over time.
Perdition: Master
Recommended Power: 980
Master Difficulty: Locked Equipment, Match Game, Extra Shields, Extra Champions Champions: [Shield-Piercing] Barrier, [Disruption] Overload Burn: [Arc] Arc Shields: [Arc] Arc, [Void] Void Modifiers: Shocker, Famine
Modifiers
When defeated, Goblins spawn Arc pools that causes damage over time.
You will face [Shield-Piercing] Barrier and [Disruption] Overload Champions.
Visit the Character or Mod Customization screen to view your active anti-Champion perks.

All ammunition drops are significantly reduced.
Enemy shields are highly resistant to all unmatched elemental damage.
Limited fireteam revives. Gain additional revives by defeating Champions.
You will face combatants with [Arc] Arc and [Void] Void shields.
Activity modifiers may add more shield types.
More Lost Sectors
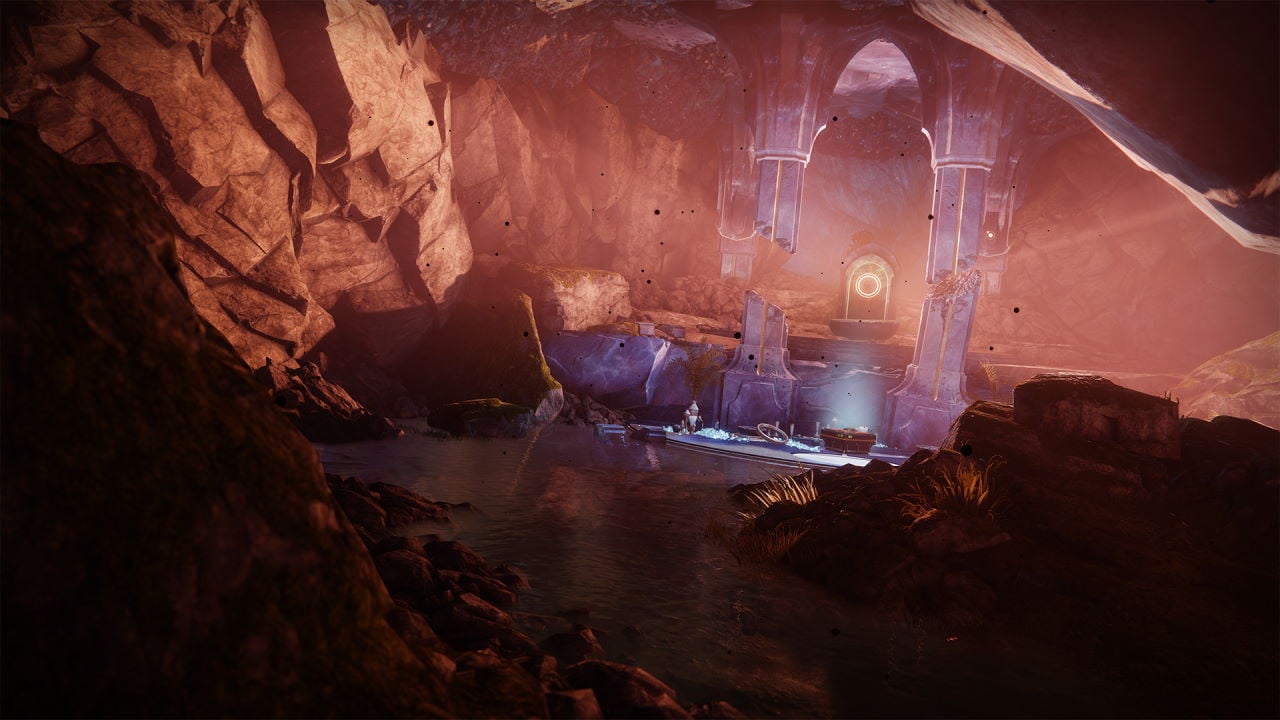 Aphelion's RestLost Sector · The Dreaming City
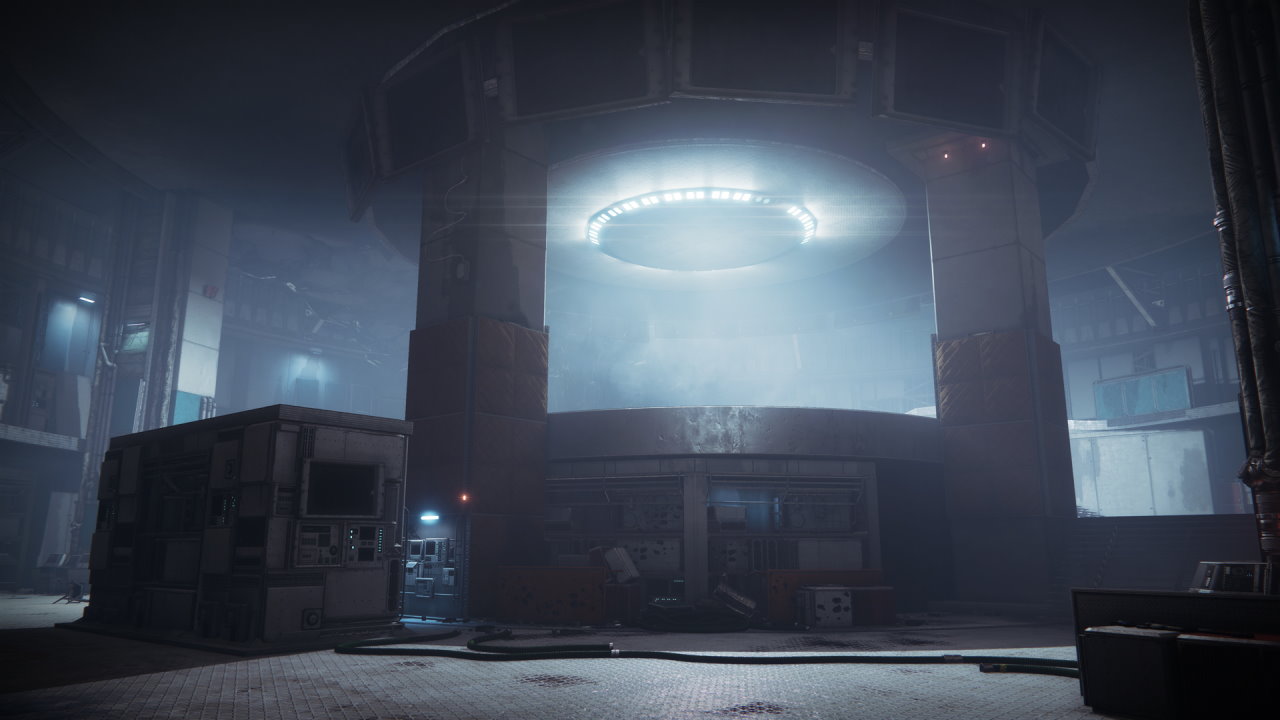 Bunker E15Lost Sector · Rathmore Chaos, Europa
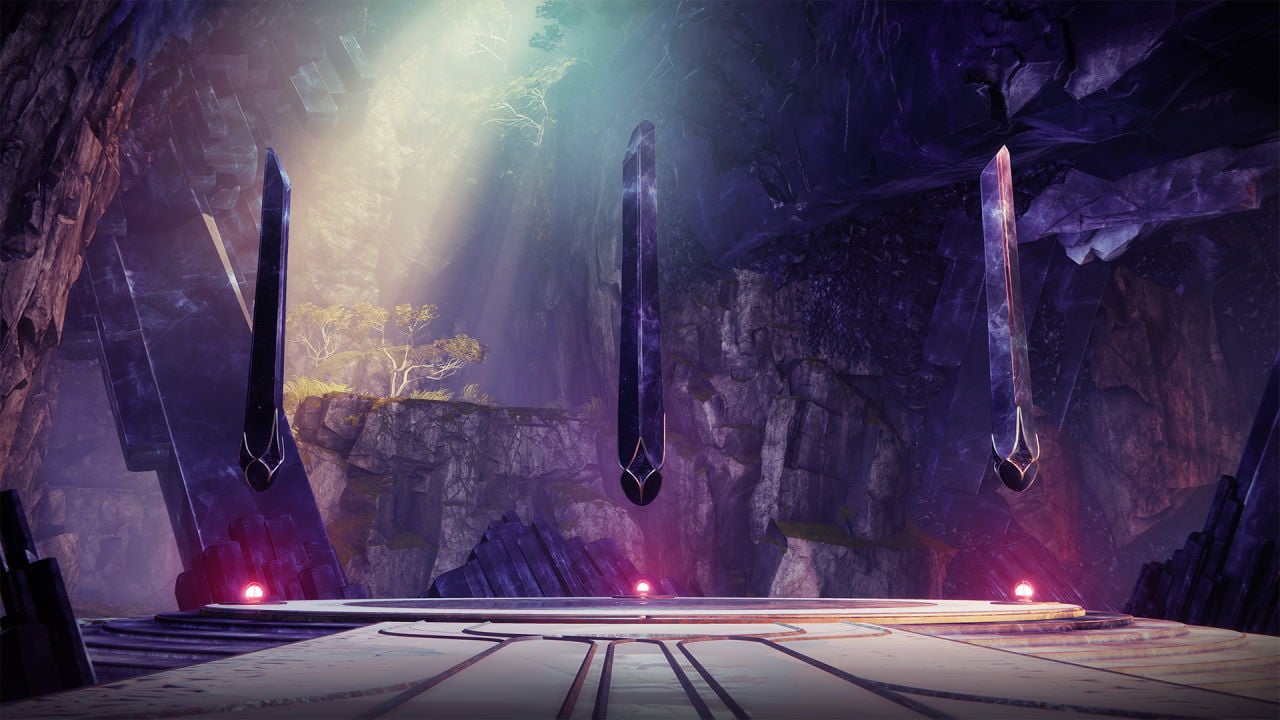 Chamber of StarlightLost Sector · The Dreaming City
 K1 CommunionLost Sector · The Moon
 K1 Crew QuartersLost Sector · The Moon
 The Blooming DeepLost Sector · The Traveler
 The Forgotten DeepLost Sector · The Traveler
 The Message, Part ILost Sector · The TravelerThe Message, Part IILost Sector · The TravelerThe Message, Part IIILost Sector · The Traveler
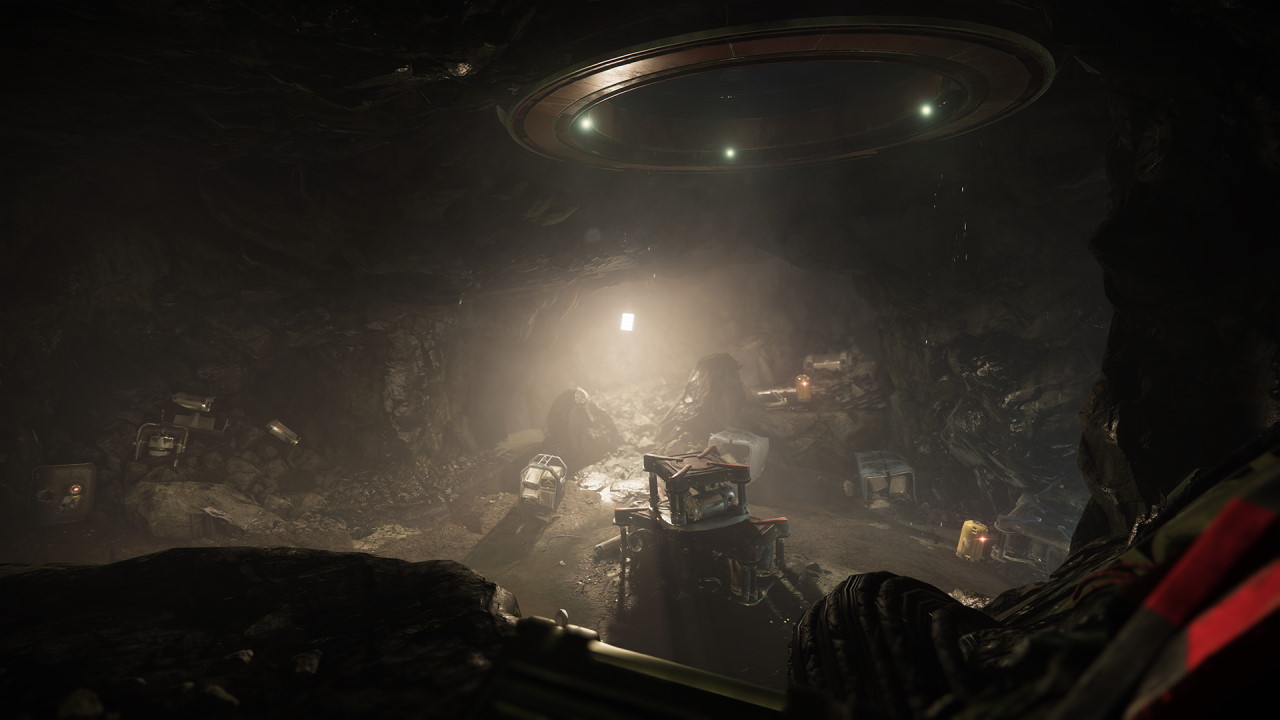 The QuarryLost Sector · Earth
 The RiftLost Sector · Nessus